Please Choose Your Language
close
Choose Your Site
Global
Social Media
Views: 0 Author: Site Editor Publish Time: 2026-08-28 Origin: Site


Exit-hole blowout is a critical failure point in finish woodworking, cabinetry, and structural timber framing. It ruins expensive materials instantly. You spend hours measuring and cutting, only to splinter the back of your workpiece. Conventional bits rely on heavy user-applied axial pressure. You must push them hard to force a cut. This aggressive force bursts unsupported wood fibers as the bit exits the lumber. We need a better approach to protect our projects. Wood Auger Bits offer a proven mechanical solution. They are specifically designed to control the feed rate automatically. They pre-score delicate fibers before removing waste. This unique geometry significantly reduces exit-hole damage. In this guide, you will learn the exact mechanics of blowout. We will explore how specific bit anatomy prevents it. You will also discover practical implementation techniques to guarantee clean, professional exit holes every single time.
Wood Auger Bits utilize a threaded lead screw to pull the bit through the material, eliminating the need for excessive downward pressure that causes blowouts.
Outer scoring spurs slice the wood fibers cleanly before the cutting edge lifts the waste, ensuring a precise entry and exit.
Even with a highly precise wood drill bit, pairing the tool with implementation techniques—like backer boards or the drill-and-flip method—is required for 100% blowout prevention.
Selecting the right bit requires evaluating flute geometry, spur sharpness, and shank compatibility with your power tool or hand brace.
Understanding blowout requires a close look at wood fiber physics. Wood is not a uniform material. It consists of thousands of tightly packed fibers resembling a bundle of drinking straws. When you drill a hole, you sever these fibers. However, the exit hole presents a unique structural weakness. The bit acts like a wedge as it breaks through the final millimeter of wood. Uncut fibers at the rear have zero physical support behind them.
Axial force drives this destruction. Pushing a drill forces the cutting edge into the wood. This pressure bends the unsupported fibers outward. They eventually stretch beyond their tensile strength and snap. We call this violent snapping action tear-out or blowout. The result is an ugly, splintered crater on the back of your workpiece.
Material variables heavily influence the severity of this splintering. Different species react differently to cutting pressure. Let us look at common examples:
Softwoods (e.g., Pine, Cedar): These woods have spongy, compressible fibers. They crush easily before they cut. Blowout in softwood often looks like mashed, torn chunks.
Hardwoods (e.g., Oak, Maple): Hardwoods possess dense, brittle fibers. They resist crushing but snap violently under tension. Blowout in hardwood typically yields long, sharp splinters following the grain direction.
Grain Orientation: Drilling parallel to the grain risks splitting the entire board. Drilling perpendicular to the grain maximizes tear-out on the exit side.
The cost of failure extends beyond aesthetics. A severe blowout ruins expensive premium lumber. It compromises structural joints in timber framing by reducing the load-bearing surface area. You face increased labor costs trying to patch, fill, or sand the damage. Preventing this issue outright saves time and protects your project budget.
Never force a dull bit through dense material. Dull edges cannot sever fibers cleanly. They simply mash the wood outward. This drastically increases the internal pressure and guarantees a massive exit-hole blowout.
Standard drill bits rely on brute force. Conversely, auger bits utilize smart geometry. Every component of an auger bit plays a specific role in managing cutting pressure and preserving wood fibers. Let us examine the three critical anatomical features.
The threaded lead screw provides ultimate feed control. You will find this small screw at the very tip of the bit. Its threads engage the wood first. As the drill rotates, the screw actively pulls the bit downward into the material. You do not need to apply heavy body weight. The tool feeds itself at a consistent, mathematically determined rate. This automated feed prevents you from "punching through" the bottom of the cut. Uncontrolled punching is the primary trigger for exit-hole bursting.
Scoring spurs execute perimeter slicing. These sharp, knife-like points sit on the outer edge of the bit. They rotate just ahead of the main cutting lip. The spurs slice a perfect circle into the wood fibers. They sever the fibers cleanly before the main lifting action begins. Because the perimeter is already disconnected from the surrounding wood, the waste material shears off neatly. It cannot rip adjacent fibers away from the board.
The single cutting edge acts like a rotating chisel. Once the spurs define the hole circumference, the cutting lip engages. It shaves the pre-scored waste material upward. The deep, open flutes immediately capture these shavings. They eject the waste rapidly. Fast chip extraction prevents clogging and reduces internal friction. Lower friction means less heat and a much cleaner exit.
Component Name | Mechanical Action | Impact on Blowout Prevention |
|---|---|---|
Threaded Lead Screw | Pulls the bit automatically | Eliminates user axial pressure; prevents punching through. |
Outer Scoring Spurs | Slices the hole perimeter | Severs fibers cleanly so they do not tear outward. |
Main Cutting Edge | Shaves and lifts waste | Removes material gently within the scored boundary. |
Deep Flutes | Evacuates wood chips | Prevents jamming and internal friction build-up. |
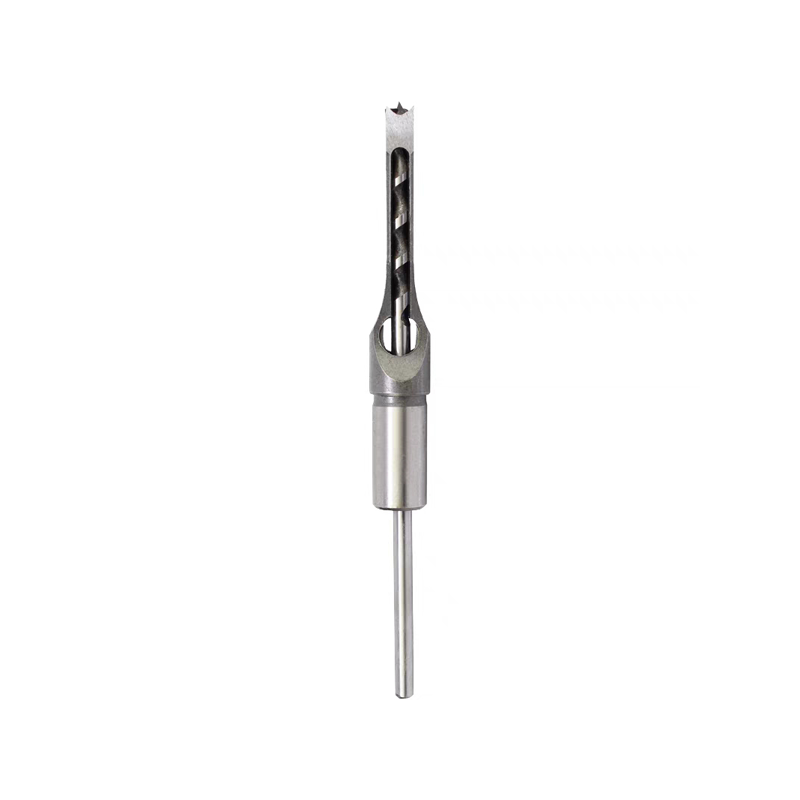
Choosing the right tool determines your success. Many woodworkers grab the nearest bit available. This habit leads to poor results. Comparing tooling options highlights why Wood Auger Bits excel at blowout prevention.
Consider spade bits first. Spade bits feature a flat, paddle-like design. They are inexpensive and drill fast. However, they rely on an aggressive scraping action. They lack a threaded lead screw. You must push them hard into the wood. Their wide, flat cutters tear fibers rather than slicing them. Spade bits create massive blowouts unless you use extensive backing support. They are suitable for rough carpentry but fail in finish woodworking.
Twist bits present another common option. Most standard drill sets contain twist bits. These tools are optimized for metal or general-purpose use. They feature a conical point, usually at a 118-degree or 135-degree angle. Twist bits lack scoring spurs entirely. When they exit the wood, they push the uncut fibers outward instead of shearing them. They also tend to wander off-center upon entry. Twist bits guarantee exit-hole splintering in almost all wood species.
Auger bits stand apart through intentional design. You should choose an auger bit when aesthetics and structural integrity matter. They are the ideal choice for deep holes because their flutes clear chips efficiently. Timber framers rely on them for precise peg holes. Electricians use them to bore clean wiring channels through studs. Furniture makers trust them for dowel joinery. Whenever a clean entry and exit are non-negotiable, the auger bit is your best option.
Superior tooling gets you halfway there. Flawless execution requires proper technique. Even the sharpest bit can cause minor splintering if used carelessly. We rely on two primary methods to guarantee zero blowout.
The "Drill-and-Flip" method offers a 100% zero-blowout guarantee. This technique takes advantage of the threaded lead screw. It requires patience but delivers perfect results.
Mark your center: Accurately mark the hole location on the front side of your workpiece.
Drill slowly: Begin drilling at a low RPM. Let the lead screw pull the bit inward.
Watch the back: Place your hand lightly on the back of the board (away from the bit path). Stop drilling the exact moment you feel the tip of the lead screw poke through the rear surface.
Flip the board: Remove the bit. Turn your workpiece over. You will see a tiny pinpoint hole created by the lead screw.
Drill inward: Place the lead screw directly into this tiny pilot hole. Drill back toward the original starting point. This ensures you are always drilling *into* supported fibers, completely eliminating exit-hole tear-out.
The sacrificial backer board technique provides another reliable solution. Sometimes you cannot flip the workpiece. In these scenarios, you must artificially support the exit fibers. Take a flat piece of scrap wood. Clamp it tightly against the exit side of your primary workpiece. Ensure the clamp pressure sits directly over the hole location. As the bit exits your good lumber, it immediately enters the scrap wood. The scrap board absorbs the exit pressure. It holds the delicate fibers in place, allowing the spurs to slice them cleanly.
Managing your RPMs and torque is equally important. Auger bits despise high speeds. Running them too fast creates immense friction. High heat burns the wood and destroys the temper of the steel. Fast rotation also causes the lead screw to strip out the wood fibers. Once the screw strips, it stops pulling. You will instinctively start pushing the drill, which reintroduces blowout risk. Run your drill at a low, steady speed. Let the tool do the heavy lifting.
Not all auger bits deliver the same performance. You must evaluate several key factors when adding one to your toolkit. Choosing a Precise Wood Drill Bit requires looking at material, spur design, and shank compatibility.
Material composition dictates tool longevity. Most traditional auger bits consist of High-Carbon Steel. Carbon steel takes a razor-sharp edge easily. It is perfect for hand sharpening. However, it dulls quickly in highly abrasive woods like teak or MDF. High-Speed Steel (HSS) offers superior durability. HSS bits maintain their edge longer under heat and friction. Some modern bits feature special coatings to reduce chip buildup. Choose carbon steel for occasional traditional woodworking. Invest in HSS for heavy-duty daily use.
Spur design directly affects cut quality. You will encounter single-spur and double-spur configurations. Double-spur designs score the perimeter on both sides of the cutting lip. They provide the cleanest possible cut in dense hardwoods. They severe brittle fibers flawlessly. However, double spurs can clog easily when drilling wet, sappy softwoods. Single-spur designs leave more open space at the cutting head. They clear wet chips faster but may leave a slightly rougher edge in brittle material.
Shank compatibility connects the bit to your power source. Modern users prefer hex shanks. Hex shanks lock securely into quick-change chucks. They prevent the bit from spinning freely inside a standard three-jaw drill chuck. Conversely, tapered square shanks serve a very specific historical purpose. They are designed exclusively for traditional hand bit braces. A square shank locks firmly into the two-jaw chuck of a hand brace, allowing for massive torque generation. Do not try to put a tapered square shank into a modern cordless drill.
Maintenance defines your long-term success. An auger bit only prevents blowout if its spurs remain razor-sharp. Dull spurs mash fibers instead of slicing them. You must maintain the edge. Purchase a specialized auger bit file. This small tool features safe (smooth) edges. When sharpening, you only file the *inside* of the cutting spur. Never file the outside of the spur. Filing the outside reduces the bit diameter. It ruins the clearance, causing the bit to bind permanently in the wood.
Wipe your bits down with light machine oil after every project. Wood sap and moisture cause rust quickly. Rust pits the cutting edges and creates friction. A clean, oiled bit cuts smoother and prevents tearing.
Preventing exit-hole blowout requires combining the right tool geometry and correct execution. Conventional bits fail because they rely on excessive pushing force. This force bursts unsupported fibers on the exit side. Wood auger bits solve this problem mechanically. Their threaded lead screws control the feed rate perfectly. Their sharp outer spurs pre-score the perimeter, ensuring a clean shear rather than a violent tear.
You have learned how fiber structure dictates tear-out severity. You understand the critical anatomy that makes auger bits superior to spade or twist bits. More importantly, you now possess foolproof implementation strategies. Techniques like the drill-and-flip method and sacrificial backer boards guarantee pristine results every time.
Your next steps are straightforward. Audit your current drill bit inventory. Discard dull, damaged tools. Invest in precise, high-quality auger bits tailored to your typical materials. Standardize the use of clamps and backer boards in your daily workflow. By letting the tool do the work at a controlled RPM, you will eliminate blowout, save expensive lumber, and elevate the professional quality of your projects.
A: We strongly advise against it. Impact drivers deliver violent, rotational strikes. This concussive force can easily snap the brittle scoring spurs. It also strips the threads on the delicate lead screw, ruining the bit's ability to self-feed. Always use a steady, low-RPM drill/driver or a traditional hand brace for smooth, continuous cutting power.
A: Blowout usually stems from user error or poor maintenance. Your scoring spurs might be dull, mashing fibers instead of slicing them. You may be pushing the drill aggressively instead of letting the lead screw pull the bit. Alternatively, you failed to use a sacrificial backer board on highly brittle material. Check your edges and slow down.
A: The mechanics remain the same, but the materials react differently. Softwoods possess spongy fibers that compress and crush easily. Hardwoods have dense, brittle fibers that snap under tension. Softwoods are generally more prone to messy tearing. This makes keeping your spurs razor-sharp and utilizing the drill-and-flip method even more critical when working with materials like pine.