Please Choose Your Language
close
Choose Your Site
Global
Social Media
Views: 0 Author: Site Editor Publish Time: 2026-08-28 Origin: Site


Deep, perfectly cylindrical holes are an absolute requirement for professional woodworkers and timber framers. You rely on the aggressive cutting geometry of specialized tooling to power through dense materials without tear-out. However, this exact geometry makes your tools highly sensitive to heat, pitch buildup, and poor sharpening habits. When professionals use compromised tools, they ruin expensive workpieces. Operator fatigue increases dramatically. Ultimately, neglect leads to premature tool failure.
In commercial framing and high-end furniture production, consistent performance is mandatory. This guide outlines the evidence-based protocols required to maintain, sharpen, and evaluate your tooling. You will learn how to clean sap buildup effectively and prevent rust. We will explain strict filing geometries to keep cutting edges sharp. Finally, we will cover objective replacement criteria. These daily habits ensure continuous, reliable performance on every job site.
Consistent drilling relies entirely on geometric integrity. Your tooling must execute specific mechanical actions perfectly every single time. Dimensional accuracy ensures snug joints in timber framing. Self-feeding efficiency allows the tool to pull itself through the material. You should never need to apply heavy forward pressure. A well-maintained edge also guarantees clean exit holes. It prevents the blowout splinters commonly seen on the back of lumber.
Neglecting daily maintenance carries a heavy price. Dull cutting lips struggle to sever wood fibers. Resin coats the deep flutes. This combination increases drilling friction exponentially. Friction rapidly generates heat. Heat burns the inside of the hole, leaving scorched marks. It also puts excessive strain on your drill motor. Motors burn out faster when forced to turn sticky, dull steel.
Worse yet, dull spurs cause holes to wander. A wandering hole compromises the structural integrity of the entire assembly. Dowels will not align. Bolts will bind. Taking five minutes to clean and protect your inventory prevents hours of rework. Proactive care ensures predictable, high-quality results across every single project.
Proper cleaning prevents the most common causes of tool degradation. Wood sap acts like strong glue. It traps fine sawdust against the steel. This sticky layer creates massive friction during operation.
You must remove resin immediately after heavy use. Apply dedicated resin solvents or citrus-based cleaners. These chemicals break down the sap quickly. Let the solvent sit for a few minutes. Wipe the flutes clean using a heavy rag. Never use a wire brush. Wire bristles scratch the polished steel surface. These micro-scratches trap moisture later. Moisture trapped in scratches leads directly to pitting and rust.
Manufacturers use high-carbon steel for these tools. High-carbon steel holds a very sharp edge. However, it oxidizes rapidly in humid environments. You must protect bare steel before storage. Apply a dry PTFE lubricant. Alternatively, use a very light coat of machine oil. Wipe off any excess liquid. Avoid heavy marine greases. Thick grease attracts abrasive dust. This dust acts like sandpaper during your next drilling session.
Tossing bare tools into a hard plastic bin guarantees damage. They will inevitably collide during transport. These collisions easily chip the fragile cutting spurs. You must isolate each item. Store them individually in canvas tool rolls. You can also build wooden organizers. Design separate compartments for each diameter. Physical isolation prevents catastrophic edge damage.
Table: Recommended Maintenance Solvents and Lubricants
| Product Type | Primary Application | Advantages | Common Mistakes |
|---|---|---|---|
| Citrus-Based Cleaner | Removing pitch and sap | Non-toxic, safe on steel, fast acting | Leaving residue behind before oiling |
| Dry PTFE Lubricant | Rust prevention | Does not attract sawdust | Applying too thin of a coat in humid areas |
| Light Machine Oil | Long-term storage | Deep penetration, excellent moisture barrier | Applying too much, creating a sticky mess |
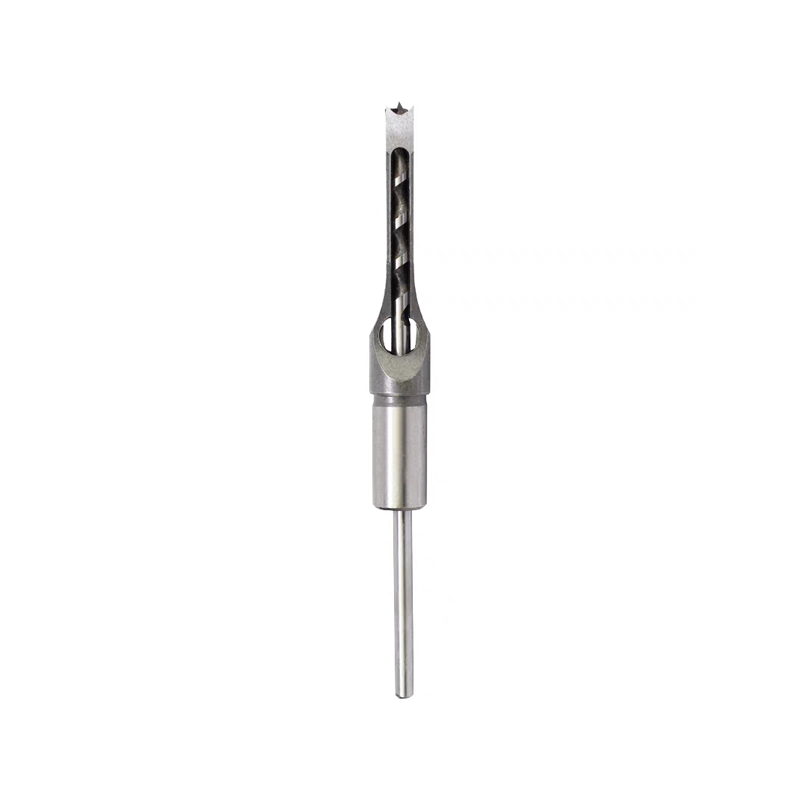
Restoring a dull edge requires strict adherence to factory geometry. Improper technique destroys the tool permanently. You need patience, good lighting, and the correct hand tools.
Never use motorized bench grinders. Grinders spin far too fast. They generate massive heat in seconds. This heat destroys the temper of the high-carbon steel, turning it soft and useless. You must use a specialized auger bit file. This specific file features safe, toothless edges on alternate sides. A safe edge prevents accidental filing of adjacent surfaces. It protects the delicate center screw.
The spurs score the outside diameter of the hole before the main lips remove the waste. They require precise attention.
Never file the outside of the spur. Filing the outside reduces the overall cutting diameter. This causes the thicker body behind the spur to bind tightly in the wood. Modifying the outside edge will completely ruin a Precise Wood Drill Bit.
The cutting lips act like chisels, lifting the wood fibers away.
Equal material removal maintains balance. An unbalanced tip causes severe wobble during high-torque applications.
The threaded center point pulls the assembly deep into the wood. It dictates the feed rate. You should rarely, if ever, file this component. If you accidentally dent the threads, use a tiny triangular file. Carefully clear away the raised burrs. Never attempt to reshape the threads or sharpen the point. Modifying the lead screw ruins the self-feeding mechanism entirely.
Knowing when to stop filing and buy a replacement saves hours of frustration. Some damage simply cannot be repaired efficiently.
You should maintain tools showing normal operational wear. Minor edge dulling takes only a few file strokes to fix. Light surface rust cleans up easily with an abrasive pad and oil. If the feed screw remains sharp and intact, you can restore factory performance in under ten minutes. Regular touch-ups keep the workflow smooth.
Certain failures indicate permanent geometric compromise. Watch for these distinct red flags.
When failures occur, upgrade wisely. Look for hardened high-carbon steel construction. Inspect the flutes for precision milling. Cheaper alternatives often feature rough, cast flutes. Rough flutes trap chips and cause binding. Examine the lead screw closely. It should look distinct, aggressive, and perfectly centered. High-quality replacements warrant future maintenance efforts. Cheap alternatives belong in the trash once dull.
How you operate your drill directly impacts tool longevity. Operator error destroys edges faster than normal wood friction. Change your habits to protect your investment.
Wood Auger Bits require high-torque, low-speed applications. Many beginners run them at the maximum speed setting. High speeds work for standard twist bits in metal. They do not work for large diameters in wood. High RPMs generate excessive heat instantly. This heat turns the steel blue. Blued steel has lost its temper and will not hold a sharp edge. Always consult manufacturer guidelines for the correct RPM based on diameter and wood hardness. Softer woods tolerate slightly higher speeds. Dense hardwoods demand the lowest gear available.
Deep flutes extract chips very well. However, deep drilling pushes any design to its limit. If you drill a ten-inch hole continuously, sawdust compresses. It packs tightly inside the flutes. This packing creates immense friction. The wood begins to smoke. The drill binds violently, threatening your wrists.
You must practice peck drilling. Drill down two inches. Pull the spinning tool up slightly to clear the chips. Drill another two inches. Repeat this process. Frequently backing out acts as your first line of preventative maintenance. It keeps the steel cool. It keeps the hole clean.
Hidden metal destroys cutting edges immediately. Hitting an embedded nail or hardened screw shatters the fragile spurs. It tears the threads right off the feed screw. This happens frequently in remodeling jobs. Scanning reclaimed lumber is a mandatory risk-mitigation step. Use a handheld metal detector. Scan old framing timber thoroughly before you start drilling. Finding one hidden nail saves a fifty-dollar tool.
Consistent drilling relies entirely on the geometric integrity of your tooling. Precision is never an accident. By implementing strict cleaning routines, you prevent heat-trapping resin buildup. By adopting correct file-based sharpening techniques, you maintain perfect factory angles. You must never file the outside of the spurs. You must protect the delicate feed screw at all costs.
Adhering to operational best practices makes a massive difference. Run your drill at lower speeds. Clear your chips frequently. Scan for hidden metal. Evaluate your current inventory against objective wear criteria. Properly restore items showing minor dulling. Replace heavily compromised items with high-quality alternatives designed for professional use. These disciplined habits guarantee perfect, tear-out-free holes on every project.
A: No. Power grinders generate heat. This heat ruins the steel’s temper instantly. Standard hand files lack the necessary "safe edges." Without safe edges, you will accidentally damage the delicate feed screw or file the outside diameter. You must use a specialized auger bit file.
A: Binding happens for two main reasons. First, the outside of the spurs might be worn down or improperly filed. This makes the hole smaller than the steel body. Second, failing to clear chips causes sawdust to pack tightly in the flutes, jamming the tool.
A: Spade bits are largely viewed as disposable. They lack self-feeding precision. Auger tooling requires careful, angled filing with specialized tools. However, they deliver vastly superior hole quality, depth, and longevity compared to cheap spade bits.
A: Yes, for specialized or large-diameter heritage tools, professional sharpening makes sense. However, for everyday sizes, in-house sharpening is highly efficient. With the correct file and a basic understanding of the geometry, you can restore an edge in minutes.